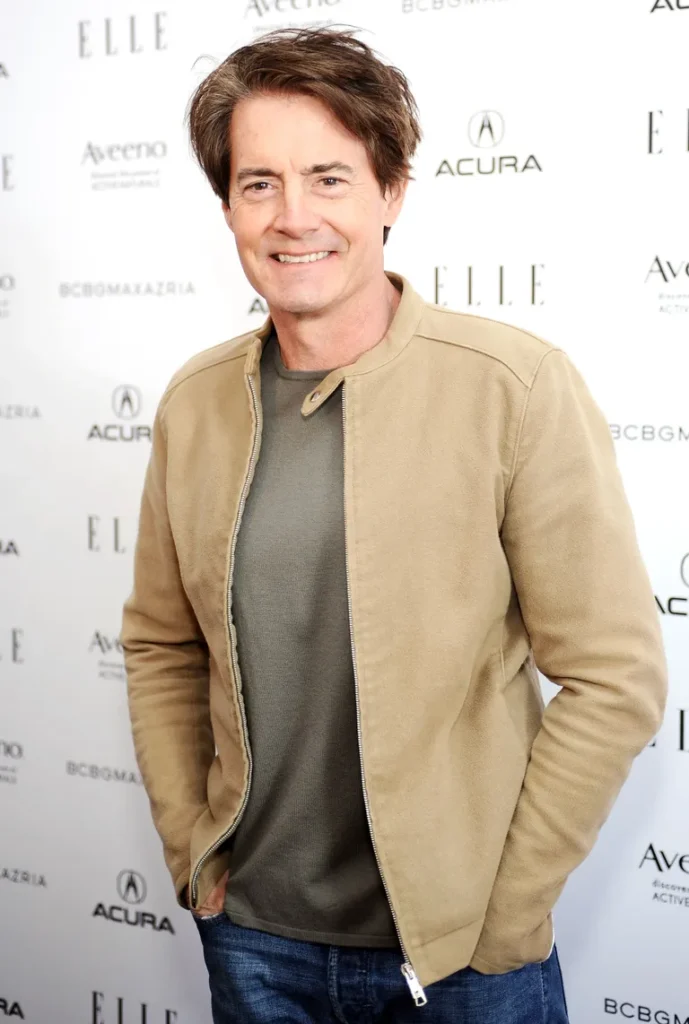
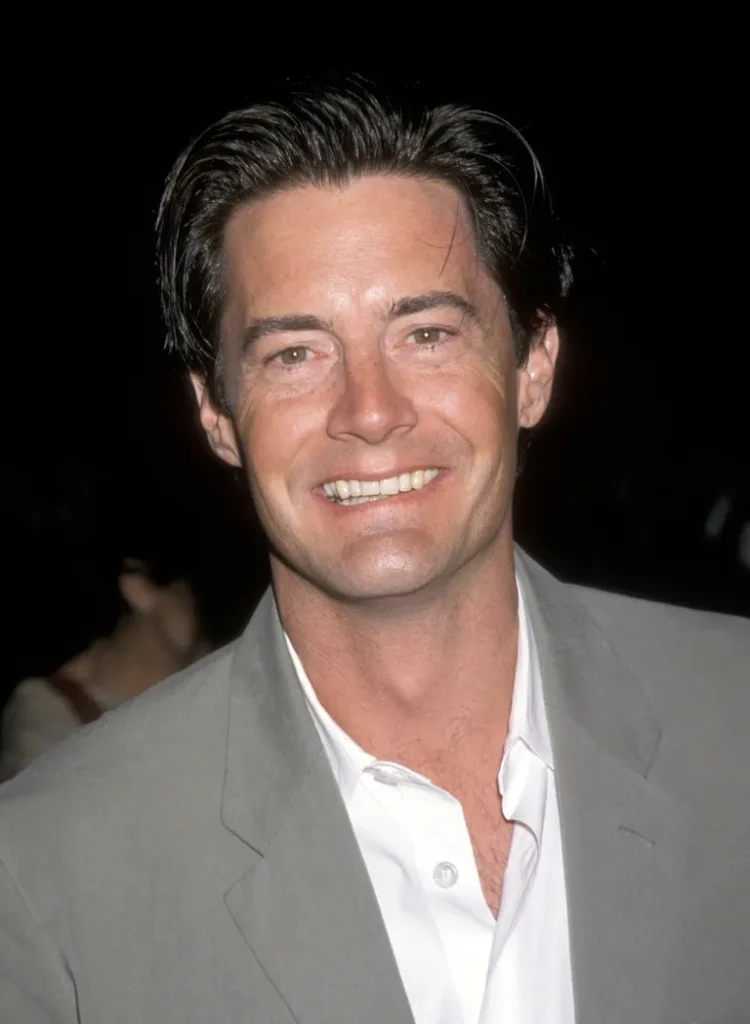
Thanks to his parts in popular television series like “Twin Peaks” and “Desperate Housewives,” Kyle MacLachlan is well-known.
The actor welcomed his first and only child at almost fifty years old.
Since then, the famous person has talked candidly about how his son altered his life.

The Hollywood star’s son is now all grown up, and wholesome social media posts left fans convinced he was his father’s mini-me. The “Twin Peaks” star revealed touching details about the “magical” experience fatherhood had been and how it changed him “from the inside.” This was despite his initial skepticism of the wonders of parenthood. Kyle MacLachlan had enjoyed around three decades of success in acting when he and his longtime partner decided to start a new chapter in life and become parents.
FROM YAKIMA TO HOLLYWOOD STARDOM
MacLachlan was born in Yakima, Washington, the son of a public relations director and a stockbroker. He began his acting career in 1982, following his graduation from the University of Washington.

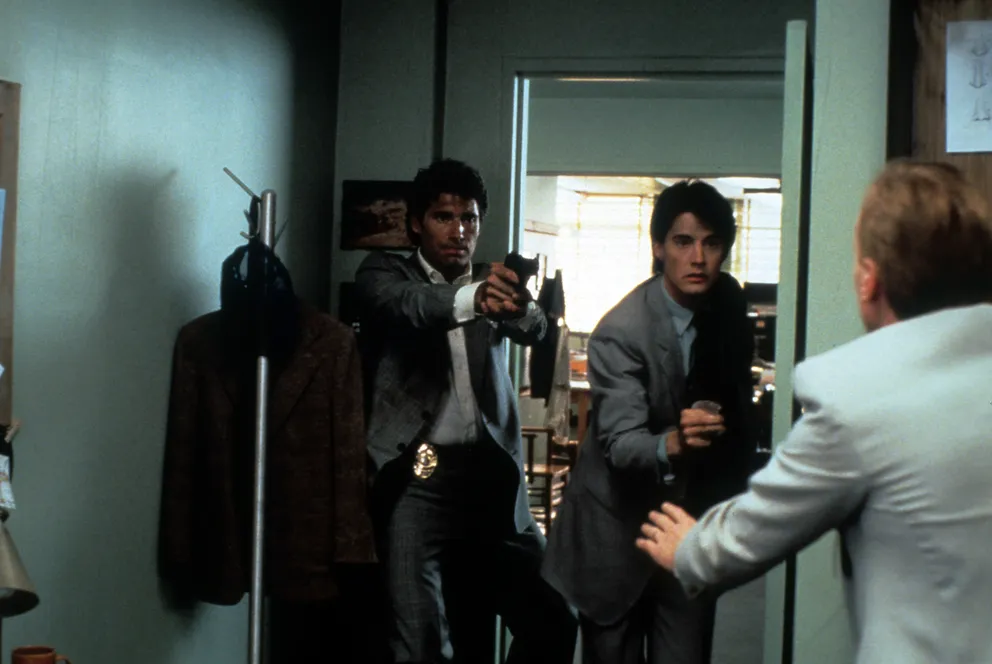
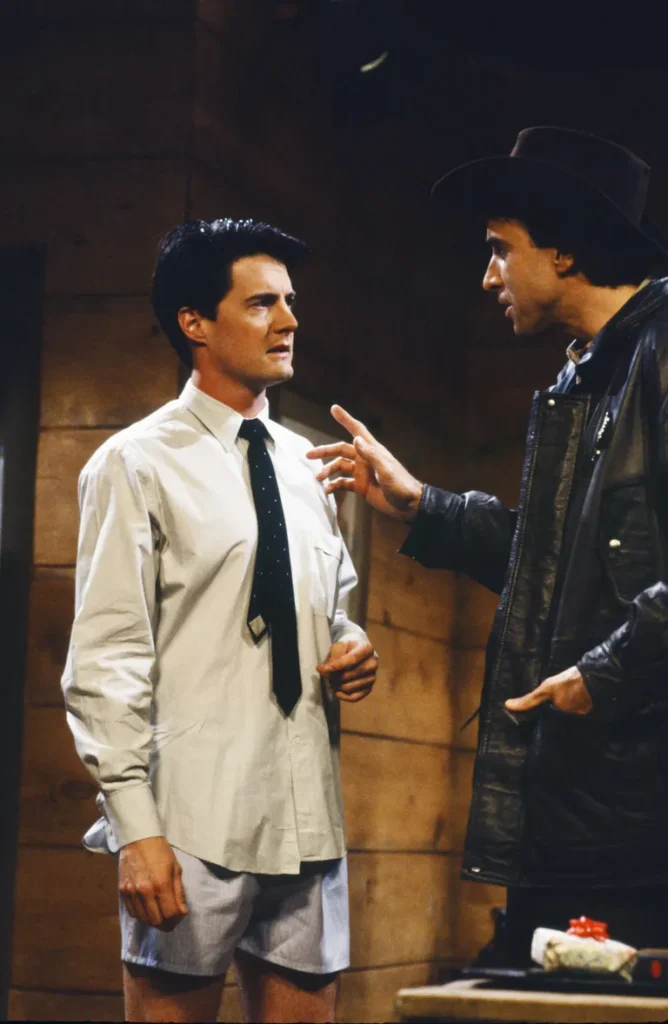
Director David Lynch was drawn to him because of his authoritative presence and striking dark appearance. Later, MacLachlan was given his first role in a feature film by the director. The 1984 adaptation of Frank Herbert’s science fiction epic “Dune” marked the actor’s feature film debut.

Reviews for the movie were not unanimous. That did, however, signal the start of a very important working partnership between Lynch and MacLachlan. Their subsequent joint venture was in the 1986 motion picture “Blue Velvet.”
This really made MacLachlan famous. In the role, he portrayed Jeffrey Beaumont. The persona explored suburbia America’s darker side. This movie demonstrated MacLachlan’s versatility in handling nuanced and dramatic parts.

It also proved he was a serious actor who could take the lead in a movie. With the popularity of “Blue Velvet,” MacLachlan’s career took off. He had a cult following as an FBI agent in the 1987 sci-fi thriller “The Hidden.”
This part preceded one of his most well-known personas. In Lynch’s ground-breaking 1990 television series “Twin Peaks,” such character was Special Agent Dale Cooper. With his mysterious demeanor and quirky charm, MacLachlan enthralled fans in his role as Agent Cooper.
The show has a cult following. MacLachlan received two Emmy nominations and a Golden Globe for his performance. MacLachlan continued to be a consistent presence in movies and television throughout the 1990s.
His role in Oliver Stone’s 1991 biographical picture “The Doors” was that of Ray Manzarek. After that, the actor was cast in the lead role of Cliff Vandercave, the antagonist, in the live-action version of “The Flintstones.”
After that, MacLachlan’s career took a hit when “Showgirls” failed both critically and financially in 1995. But the actor’s talent and tenacity kept him in the limelight. His career took a turn for the better in the early 2000s.

From 1998 until 2004, MacLachlan played a recurrent part in the critically acclaimed HBO series “Sex and the City”. He portrayed Trey MacDougal on the show, Kristin Davis’s endearing but disturbed husband of Charlotte York.
“Sex and the City” served as a benchmark for culture. Since then, it has received praise for its candid depiction of women’s relationships and lifestyles in New York City. The cast of the show was outstanding. Among them were Cynthia Nixon, Kim Cattrall, and Sarah Jessica Parker.
A starring part in the television film “The Spring in 2000” contributed to MacLachlan’s ongoing fame. Later on, he played the character of Claudius in the contemporary “Hamlet.”
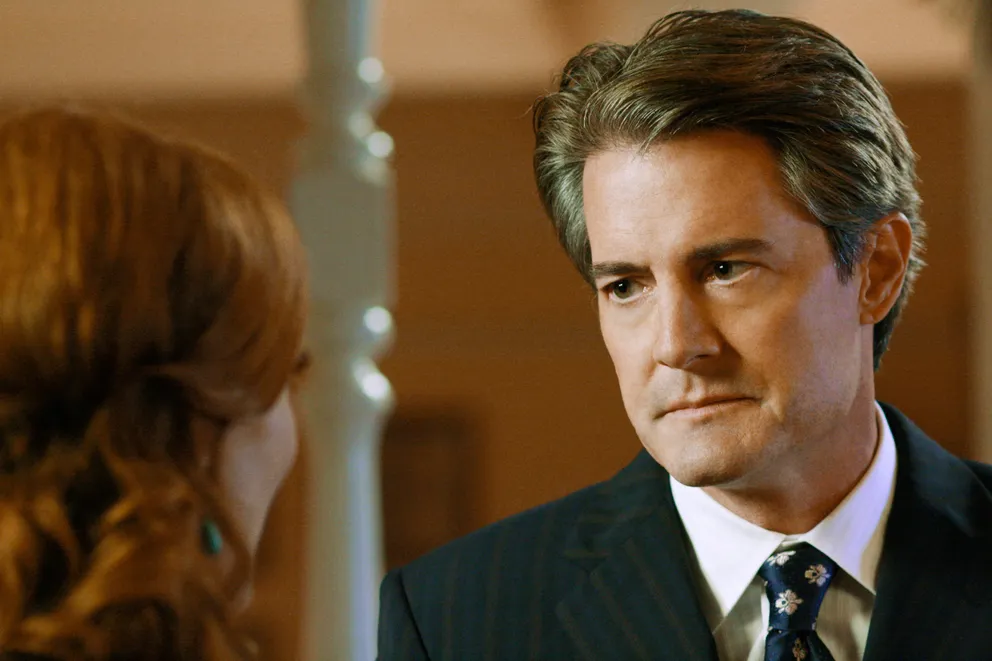
MacLachlan rose to prominence on network television in the mid-2000s. But his appearance on “Desperate Housewives” thrust him back into the public eye. The performer portrayed the enigmatic and morally dubious dentist Orson Hodge.

MacLachlan was a member of an all-star group of actors. Teri Hatcher, Eva Longoria, Marcia Cross, and Felicity Huffman were among them. “Desperate Housewives” achieved significant success. Throughout its run, it garnered multiple honors and included elements of mystery, comedy, and drama.
MacLachlan is a well-liked character in the entertainment world because of his ability to move between cinema and television with ease. This was consistent with his ability to select interesting and varied jobs.
A FATEFUL MEETING AND A LASTING LOVE
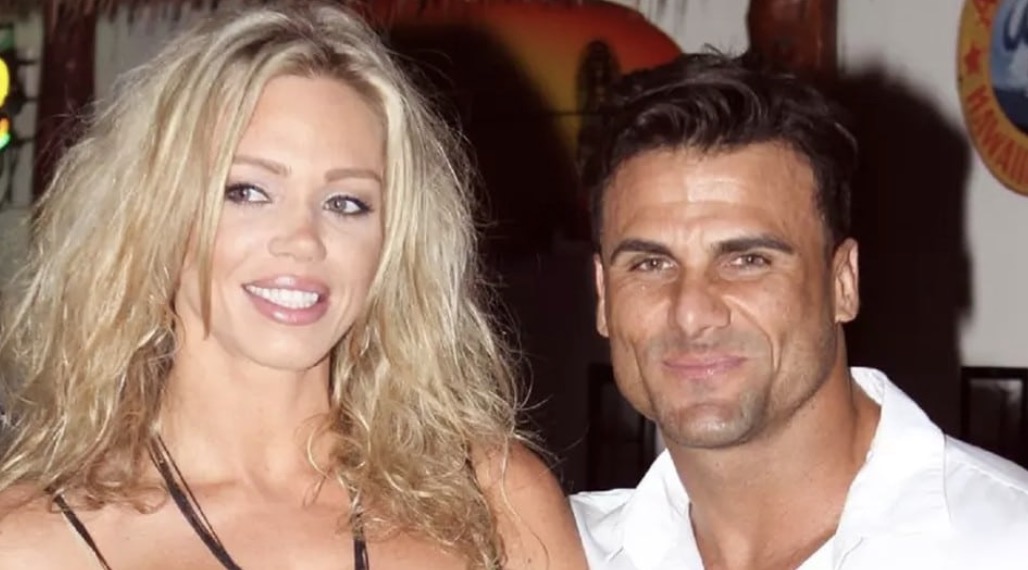
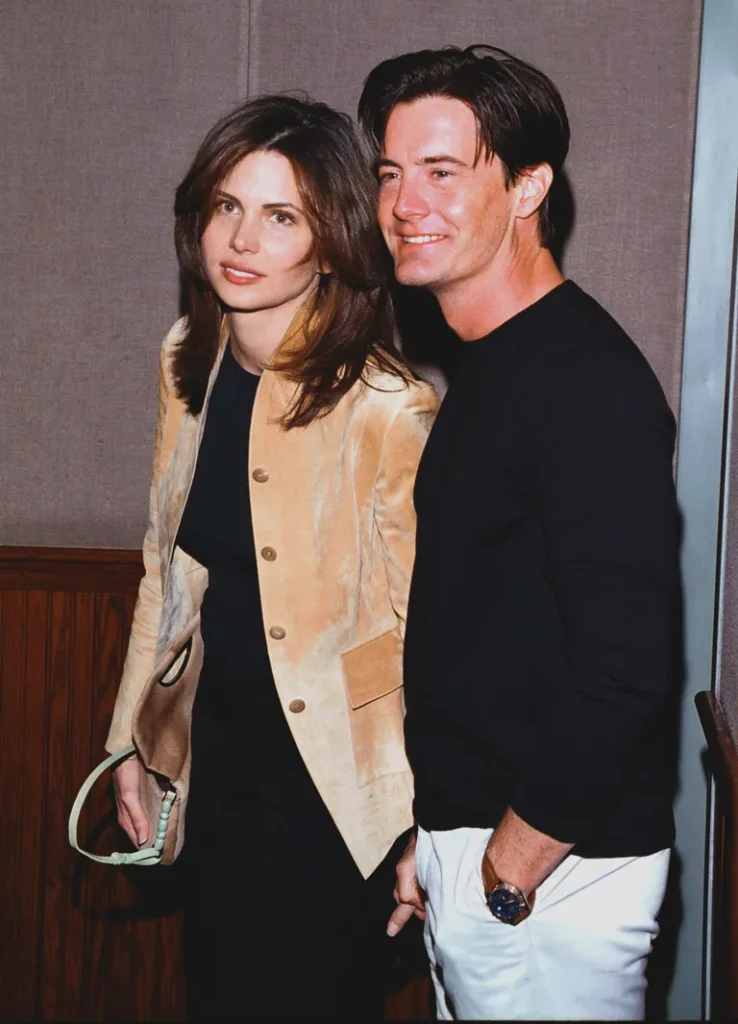
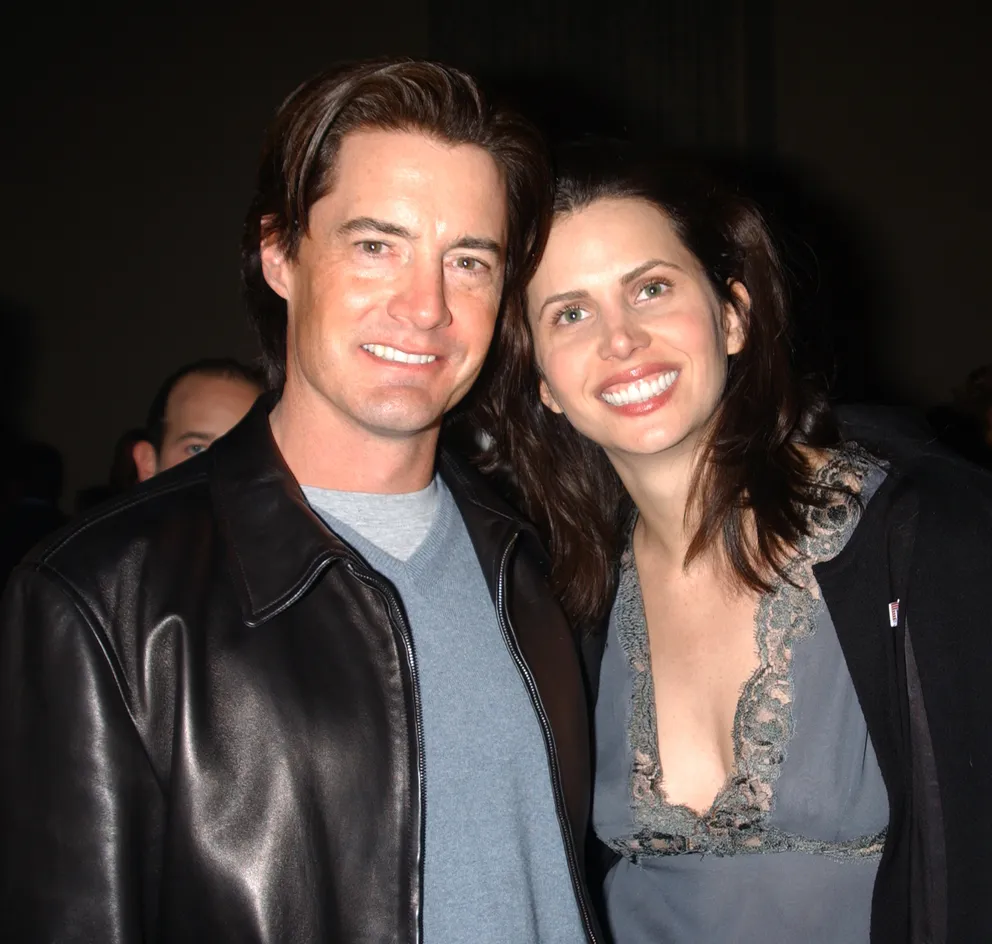
MacLachlan was receiving traction therapy in April 1999 in order to treat a back ailment. He had no idea, though, that a trip to a Los Angeles chiropractor’s office would introduce him to his future wife.
MacLachlan had a brief talk with Desiree Gruber, a TV producer. The actor was too bashful, though, to ask for her phone number. It was clear how coincidental their encounter had been when they went to the Talk magazine launch party together that same evening.
This coincidental event caught MacLachlan off guard. Monday came around again for them. It happened during a different visit to the chiropractor. For the actor, this recurrent encounter felt like more than just happenstance.

MacLachlan was old enough to recognize that something seemed to be pulling them toward each other. Gruber was residing in New York at the time. But then destiny stepped in again when MacLachlan landed a part in “Sex and the City.” He had to relocate to New York as a result.
MacLachlan said, laughing, “We were helped along.” Following three years of romance, MacLachlan and Gruber made the decision to get married. On April 20, 2002, they were married at Plymouth Congregational Church in Miami.
The wedding took a great deal of planning. It took almost a whole year to prepare for. The couple’s ballroom dance lessons were part of this. MacLachlan remembered with nostalgia the moment his wedding day’s church doors opened.
“All I could see when I glanced down the aisle was Desiree grinning. You cannot predict the significance of that moment,” the actor remarked. Still, there were several amusing moments during the event.
Soon after the vows were exchanged, a minor incident happened. Craig, MacLachlan’s brother and best man, noticed the wedding bands were gone.


“As he kept searching in his pocket, he discovered there was a hole in the lining. Gruber related that Kent Jr., Kyle’s younger brother and co-best man, suddenly slipped his hand in Craig’s pocket and all she heard was the lining ripping apart.
The 132 visitors’ moment of dread gave way to laughs in no time. Among them were famous pals like Naomi Campbell, Chris Noth, and Heidi Klum. Gruber disclosed, “We couldn’t stop giggling. I wasn’t bothered at all.”
After some time, the rings were located, and the ceremony was finished. Everyone then got together at the neighboring Biltmore Hotel to carry on the festivities. The couple showed off their freshly acquired dance abilities there. To Frank Sinatra’s “The Way You Look Tonight,” they moved to the dance floor.

The newlyweds’ performance was praised by Klum as “graceful.” It was quite the extravagant reception. A band consisting of eight members performed Latin music. There was a lavish feast as well. It had grissini wrapped with prosciutto. It also included a rack of lamb grilled in Colorado and Caribbean conch stew.
The party went on until three in the morning. The worn-out but content pair then made their way to their $2,850-per-night suite. MacLachlan called the event “magical” after giving it some thought.

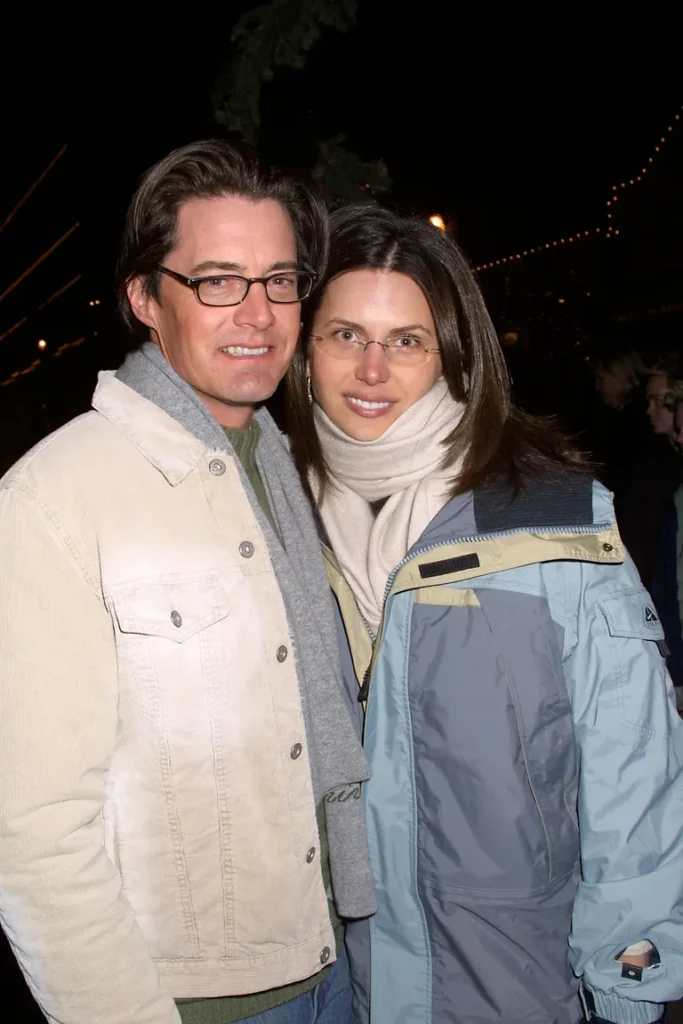
More than twenty years later, MacLachlan and Gruber are still happy in their long-lasting union. The actor was questioned about the key to his enduring partnership during an interview.
She is definitely far more patient than I am, but we are both very courteous and patient with one another. In addition, she is quite wise, intelligent, and practical,” he revealed.

KYLE MACLACHLAN’S JOURNEY EMBRACING FATHERHOOD
Almost six years after getting married, in 2008, MacLachlan and Gruber welcomed Callum Lyon MacLachlan into the world. Gruber was forty years old, and the actor was fifty-nine. The TV producer disclosed that her husband was “so excited” to become a father before giving birth.

This occurred in spite of teasing arguments concerning the baby’s name. MacLachlan was hoping for Jethro as a name for their boy. He was inspired to name the band after his favorite, Jethro Tull. Gruber, though, “nixed [Jethro] right away.”

When his little guy was eight and a half weeks old in September of 2008, MacLachlan called him “pretty adorable.” The actor went on to say that he was settling in nicely to his new job as a father.
As he filled in as a co-host on “Live! with Regis and Kelly,” MacLachlan acknowledged that he had been dubious about the assertions made by other parents that becoming a father would transform their lives. He was happily surprised to discover that they were correct, though.

“really really is hard to explain, but really does [transform you] from the inside out. The actor remarked, “It’s a fantastic, magical thing. Kelly Ripa, co-host of the show, compared parenthood to a scene from “How the Grinch Stole Christmas.”
The Grinch’s heart begins to swell in this scene. MacLachlan found resonance in this comparison. The actor claimed that on the day his baby was born, his heart expanded by “ten sizes”. “That’s exactly how I feel because I was kind of green and Grinchy before,” said MacLachlan.
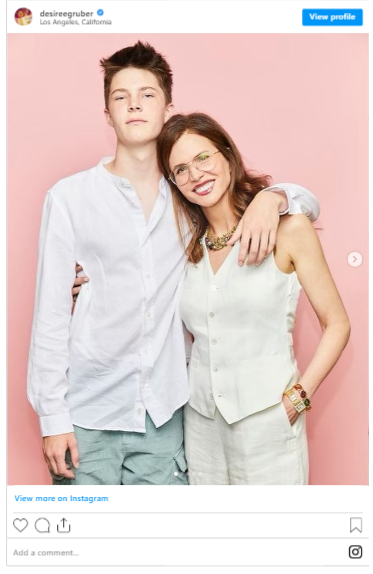
Over the years, MacLachlan’s relationship with his family has remained strong. To commemorate Valentine’s Day in February 2023, the actor posted a heartfelt picture of himself with his son and wife.
The post said, “My two favorite Valentines  Lucky me
  @desireegruber.” Fans showered the post with praise. A admirer commented, “Wow, your son is really handsome and looks like you (sic).” Another person expressed the same thought, stating, “He looks exactly like his father (sic)

 .” One more fan said, “Callum looks like a model.”

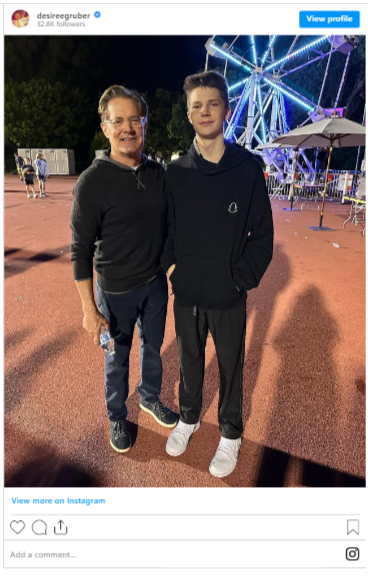
On Valentine’s Day in 2023, Gruber also gave her husband and son special attention. With a photo of MacLachlan and their son standing next to each other, the TV producer accomplished just that. “Happy Valentine’s Day to my two favorite guys  @kyle_maclachlan,” was what her caption said.
Several people expressed similar opinions on their son’s appearance in the comments section. “Whoa! He’s grown up so much since then  ,” an individual said. Another said, “Omg, so tall and handsome .”
Gruber used Instagram to share sentimental photos of her kid on Mother’s Day in 2023. “Happy Mother’s Day to all the moms and mother figures!” she said as part of the caption for the photo. I’m lucky to be able to celebrate with my son, even though it will be difficult for us to be in the same picture very soon. Callum is becoming incredibly tall  .
.
The admiring response from followers was abundant. Fantastic picture. One user said, “Wow, he looks just like his parents .” “OMG! “Desire, Callum is really tall and attractive!” said another.
Gruber shared a heartfelt Instagram message honoring MacLachlan on Father’s Day in June 2024. It displayed their lovely family. “Happy Father’s Day to the world’s best actor, podcaster, vintner, TikTok sensation, National Parks enthusiast, and most importantly …. DAD!” began the caption.
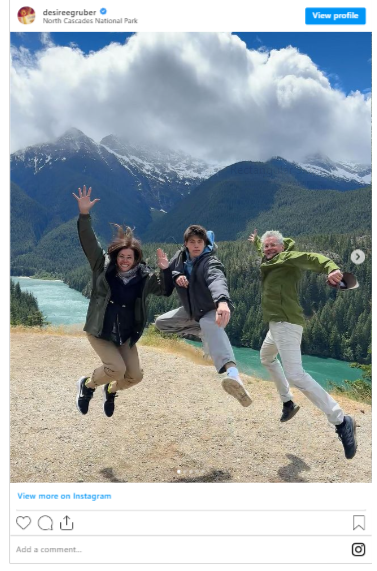
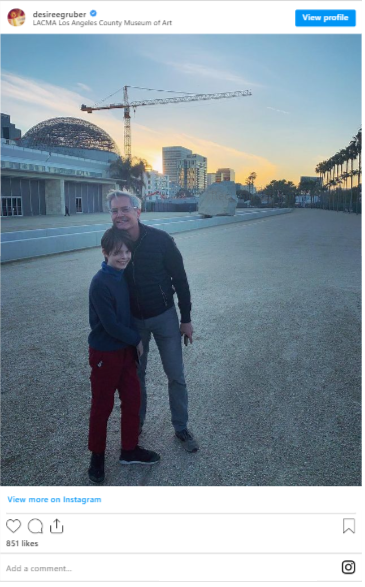
“We truly are the luckiest  @kyle_maclachlan,” the caption went on. Supporters weren’t slow to pick up on Callum’s increasing fatherly traits. “How much your boy begins to resemble Kyle is incredible! Happy Father’s Day ,” an individual wrote.

KYLE MACLACHLAN’S LIFE IN RECENT YEARS
MacLachlan has kept adding to his remarkable acting resume in the last few years. The actor took on a significant role in 2021. He portrayed Franklin Delano Roosevelt in the television series “Atlantic Crossing.”
A little-known tale was examined throughout the series. It concerned Roosevelt’s intimate relationship and flirtations with Crown Princess Martha of Norway. In retrospect, MacLachlan said of the position, “It was a fantastic chance. After reading the screenplay, I decided to join.

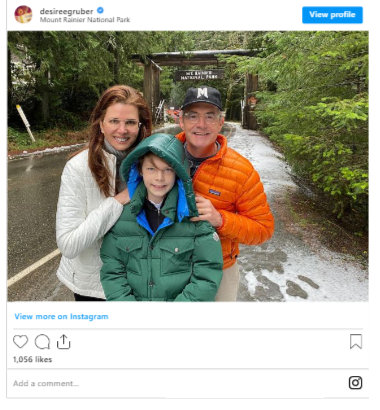
But MacLachlan has also made time for his family to enjoy a slower pace of life. The last several years have been full of outside grilling, family Monopoly games, father-son hoops, and an unexpected new pastime: TikTok.
That has been MacLachlan’s artistic outlet, she disclosed. I adore writing short stories.” Remarkably, the actress Ashley Tisdale was the one who first introduced him to the website. “I learned about it when I was working with Ashley on [the CBS sitcom] Carol’s Second Act,” MacLachlan said.

Still, not every member of the MacLachlan family approves of his TikTok ventures. “He’s [Callum] embarrassed by my TikToks,” the actor joked. “Dad, please don’t,” he says. He occasionally gives me the thumbs up, but most of the time it’s the “dear Dad post.”
By choosing to slow down, MacLachlan was able to spend more time with his family and accept the changes in his public persona. Fans have remarked that he has changed in appearance over time. especially his hair color change to gray. Social media was a hive of responses.

“@Kyle_MacLachlan,” a fan tweeted Do you have gray hair? When did that occur?” Somebody else made the amusing suggestion, “We need to study what happened to Kyle MacLachlan.”
On and off screen, Kyle MacLachlan never ceased to enthrall audiences with his embrace of fatherhood, creativity, and time.